
“Hello? Hello? Is anybody out there?” The call came faintly over my handheld radio, secure in its holster on the shoulder of my PFD. No details on what they were hailing about: was it a life-threatening emergency, were they wanting weather information, or were they simply lonely and thought marine VHF worked like CB radio for casual chats with random strangers? Whatever it was, the only thing they had communicated was that they didn’t know what they were doing. I just had time to hear the Canadian Coast Guard respond before my attention was taken up by one of the guests in the kayak tour group I was leading.
Calls like that underscore why it’s common sense, as well as the law, to get your Restricted Operator’s Certificate, Maritime (usually shortened to ROC [M] and pronounced “rock ’em”) before using a marine radio. It’s not a black art: a few hours of study and a short exam will get you in the game, all ready and legal. It’s just that, as in other fields, a specialized vocabulary and specific protocols allow quick and unambiguous communication. Had that muddled radio user known them, it would have been clear from their first transmission what the nature and purpose of their call was.
But, I hear you ask, why would I, a humble sea kayaker, want a marine VHF in the first place?
Some sea kayakers might feel it’s a bit pretentious to sport a full-fledged marine radio—after all, we’re not large craft. But I’ve always treated sea kayaking as real seafaring, albeit with everything—boats, crossings, crew size—scaled down. So a miniature version of the “big boys’” radio makes perfect sense to me.
Other paddlers might feel a radio is superfluous: they have their trusty cellphone in a waterproof baggie. And you can indeed reach the Canadian Coast Guard by dialing *16 on your cell. But shockingly, the Coast Guard isn’t always going to have a rescue boat just around the corner from where you are. In many, if not most, cases, they will be getting on their VHF radio to see if there might be a nearby good Samaritan who could help you faster. Putting out a call for help on a marine radio allows you to communicate directly with any “vessels of opportunity”, eliminating the need for the Coast Guard to act as a middleman.
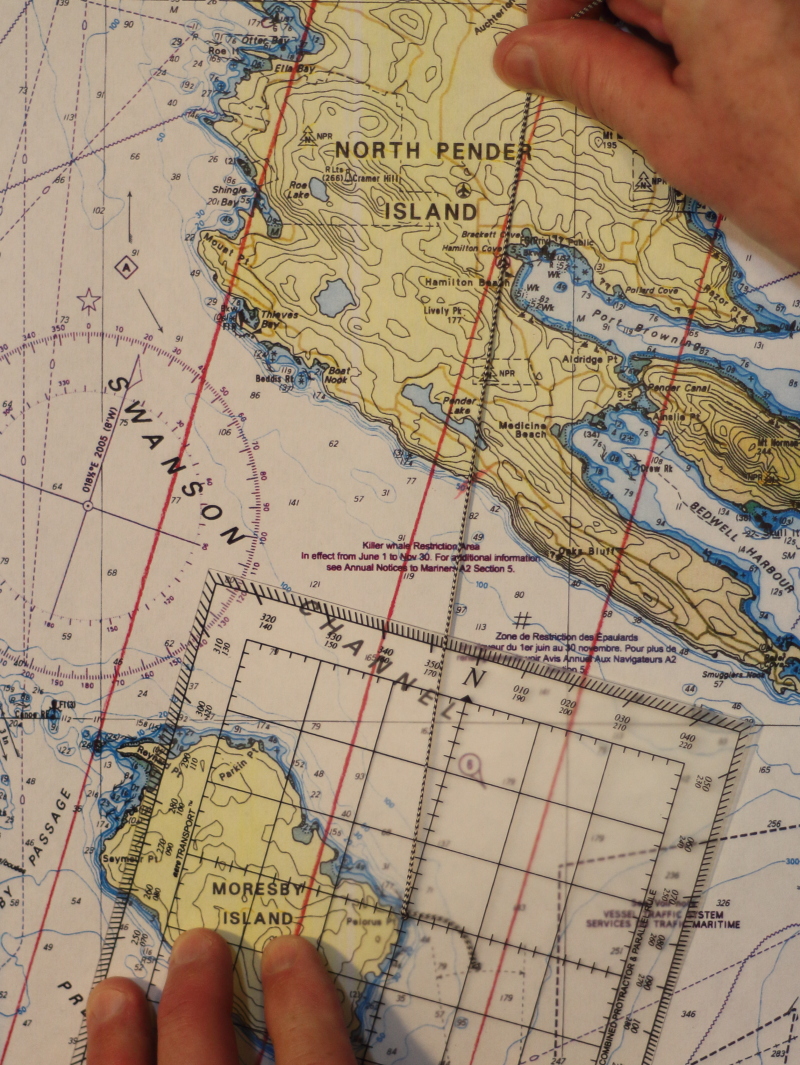
Then there’s also the fact that if you’re voyaging to the remote outer and North coast parts of BC, your particular cellphone carrier might not have coverage in that area. But as long as you’re within radio range, you’ll be able to talk directly to other boats. And thanks to a series of strategically placed antennas on high ground up and down the coast, there are very few areas on the BC coast (except far down some of our deep fjords) where you wouldn’t be able to contact the Coast Guard directly (see map).
As a further bonus, thanks to another network of land-based antennas, you should be able to receive marine weather broadcasts on your VHF weather channels pretty much anywhere on the coast—very handy when you’re off the cellphone grid and can’t access the marine weather website.
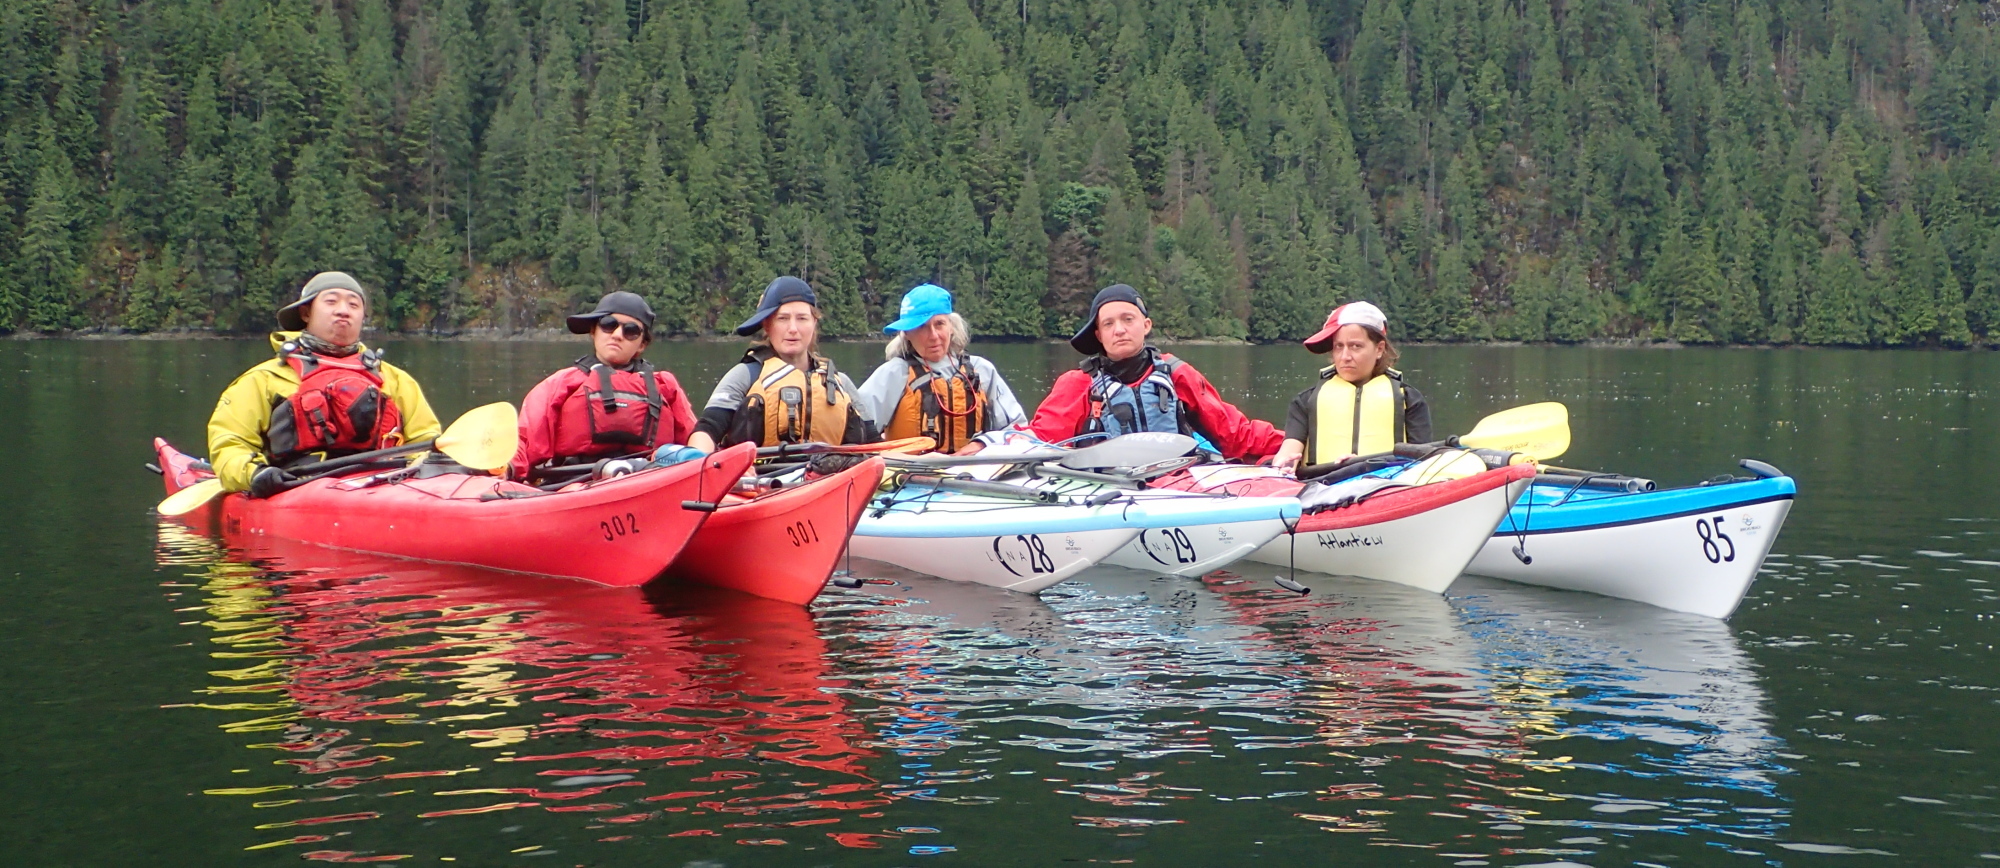
A marine VHF is certainly useful for emergencies, but even more useful for preventing emergencies. Some years ago, I was leading a small group of coworkers on a kayak trip from Prevost Island south to Portland Island in the Gulf Islands. Partway through the crossing, a BC ferry appeared out of the western end of Active Pass, en route to Swartz Bay. I knew the late afternoon sun would be reflecting off the water around us and dazzling the eyes of anyone on the ferry’s bridge. So I hailed the ferry on my VHF, gave them our position from my GPS, and herded my fellow paddlers into a tight group so the ferry wouldn’t have to slalom through us. Similarly, when doing a solo crossing of Johnstone Strait, I’ve made contact with a tug towing a barge to clarify its course and intentions and to confirm they were aware of my presence (something not to be taken for granted when you are a very small object in very big waves, and the helmsperson on the tug may be multitasking).
Even for routine on-water communications, radios are superior to cellphones. Simply pushing a button and talking is a lot faster than dialing and then waiting for the call to go through and be answered. As a kayak guide, I’m often with large groups, working with several colleagues. Any radio call one of us makes is heard by all the other guides—very handy since we’re often doing the marine version of herding cats. Nor do you need to be a pro guide to benefit from these “everyone in the loop” communications: it’s equally useful for club outings, or even when it’s just you and your paddle buddy.
So now that I’ve hopefully sold you on the idea of getting a ROC (M) and a radio, which radio should you get?
To DSC or not to DSC—that is the major question
DSC, or Digital Selective Calling, is a feature that uses a dedicated channel to let radios sync with one another digitally, and so perform all kinds of cool tricks.
Assuming the party you want to call is also using a DSC radio, and that you know their MMSI (Maritime Mobile Service Identity) or MI (Maritime Identity) number, you can call them directly, without having to hail them first by voice on Channel 16. It looks and feels a lot like calling someone from your list of contacts on a cellphone. (Although, as I caution people in my ROC [M] courses, unlike a cellphone, your conversations aren’t private: anyone who’s tuned into the channel you’re using can hear you.)
If you do need to put out a call for help, pushing the red DISTRESS button on a DSC VHF will start digitally broadcasting your Mayday, your MMSI/MI number, and your position in latitude and longitude. Any DSC-VHF-equipped boat with its radio on and in range will receive it, as will the Coast Guard (see the coverage map above). Ideally, you’d follow up pushing the DISTRESS button with a voice Mayday on Channel 16, but I’m sure you can imagine scenarios in which all you have time to do is push the red button, then cope with the situation at hand. In such cases, it’s reassuring to know the radio is automatically squawking out your digital Mayday and updated location every few minutes.
Downsides to DSC radios are that they are more expensive to buy and have a shorter battery life due to powering the integrated GPS (though on many models, you can reduce power consumption by slowing down the position update rate).
So do you want a DSC or non-DSC radio? My answer is to get one of each. When paddling or instructing in my home waters of English Bay, Vancouver, I use my non-DSC radio since I’m confident of my ability to give my location clearly in reference to local landmarks. That puts the highest daily wear-and-tear on my less expensive radio. For touring, I carry the more expensive DSC radio for its ability to send out my location accurately when I’m in less familiar waters and/or further offshore.
Most radio manufacturers make the instruction manuals for their products available on their websites. So you can browse the manual for the model you’re considering and see if it has the features you want and if the menu works in a way that makes sense to you.
If you are buying a DSC VHF, you’ll need an MMSI or MI number to activate the DSC features. Industry Canada will only issue those for radio models that have been IC-approved. Plus, radios for use here need to have the appropriate CAN, USA, and INTERNATIONAL operating modes. So while it’s OK to order radios online, it’s best to do so from stores that have a bricks-and-mortar presence in Canada so you can be sure their products are ready for use here. I had a student in one of my ROC (M) classes who’d ordered a DSC handheld from one of those mysterious overseas sites. It arrived without IC approval or the proper mode functionality, so they wasted their money. (A note to American readers: please adjust the above info for your country. And if you’re paddling in Canadian waters, your radio will need to have a CAN mode for you to talk to users here. This has to do with channel frequencies and simplex-duplex channels.)
Waterproof…ish
Almost all handheld marine VHFs are advertised as being “waterproof”. But that seems to mean something less demanding to ordinary boaters than to kayakers. The typical use for a handheld might be on the decks of a larger boat in the rain, or perhaps in a dinghy on trips away from the mothership. The worst case scenario there might be the dinghy pilot dropping the radio in a few inches of bilge water for ten seconds. But if a kayaker has to do a wet exit with their VHF in a PFD pocket, the radio gets pushed several feet below sea level during the ejection phase, and might remain a foot or more underwater for a long time if reboarding is difficult or impossible.
Waterproofness is measured on an IP scale. IP7 is the minimum for a sea kayaker; IP8 would be great if you find such a radio with all the other features you’d like.
There are custom-made waterproof radio baggies available, but I find them awkward. They make it tough to see the screen and a battle to operate the controls. As a final insult, the baggie clips often prevent the radios from fitting in PFD pockets. So I carry my radio naked and accept that the price of greater accessibility is that it will eventually die from saltwater exposure (usually just after the two or three-year warranty has expired).
Keeping your handheld at hand
Some paddlers carry their radios under their deck bungees or in the glove compartment hatch on the front deck. I’m not a fan of either: if you became separated from your boat after a wet exit in big waves and high winds, that’s when you might most want a VHF.
Because I’m routinely transmitting with my radio, I like having a radio pocket or case on my PFD shoulder that lets me quick-draw and quick-reholster. It baffles me that many sea kayaking PFDs don’t come with radio-specific pockets with pass-throughs for antennas. And that a certain kayak personal equipment company, whose products are otherwise intelligently designed, persists in putting the radio pocket on some of their PFDs dead centre at the waist front where: 1. The antenna is perfectly positioned to go up your nose; 2. If you’re swimming, both the radio speaker and antenna are underwater; and 3. The radio is subject to maximum crushing force under your body as you slide along the back deck after a seal flop or heel hook re-entry.
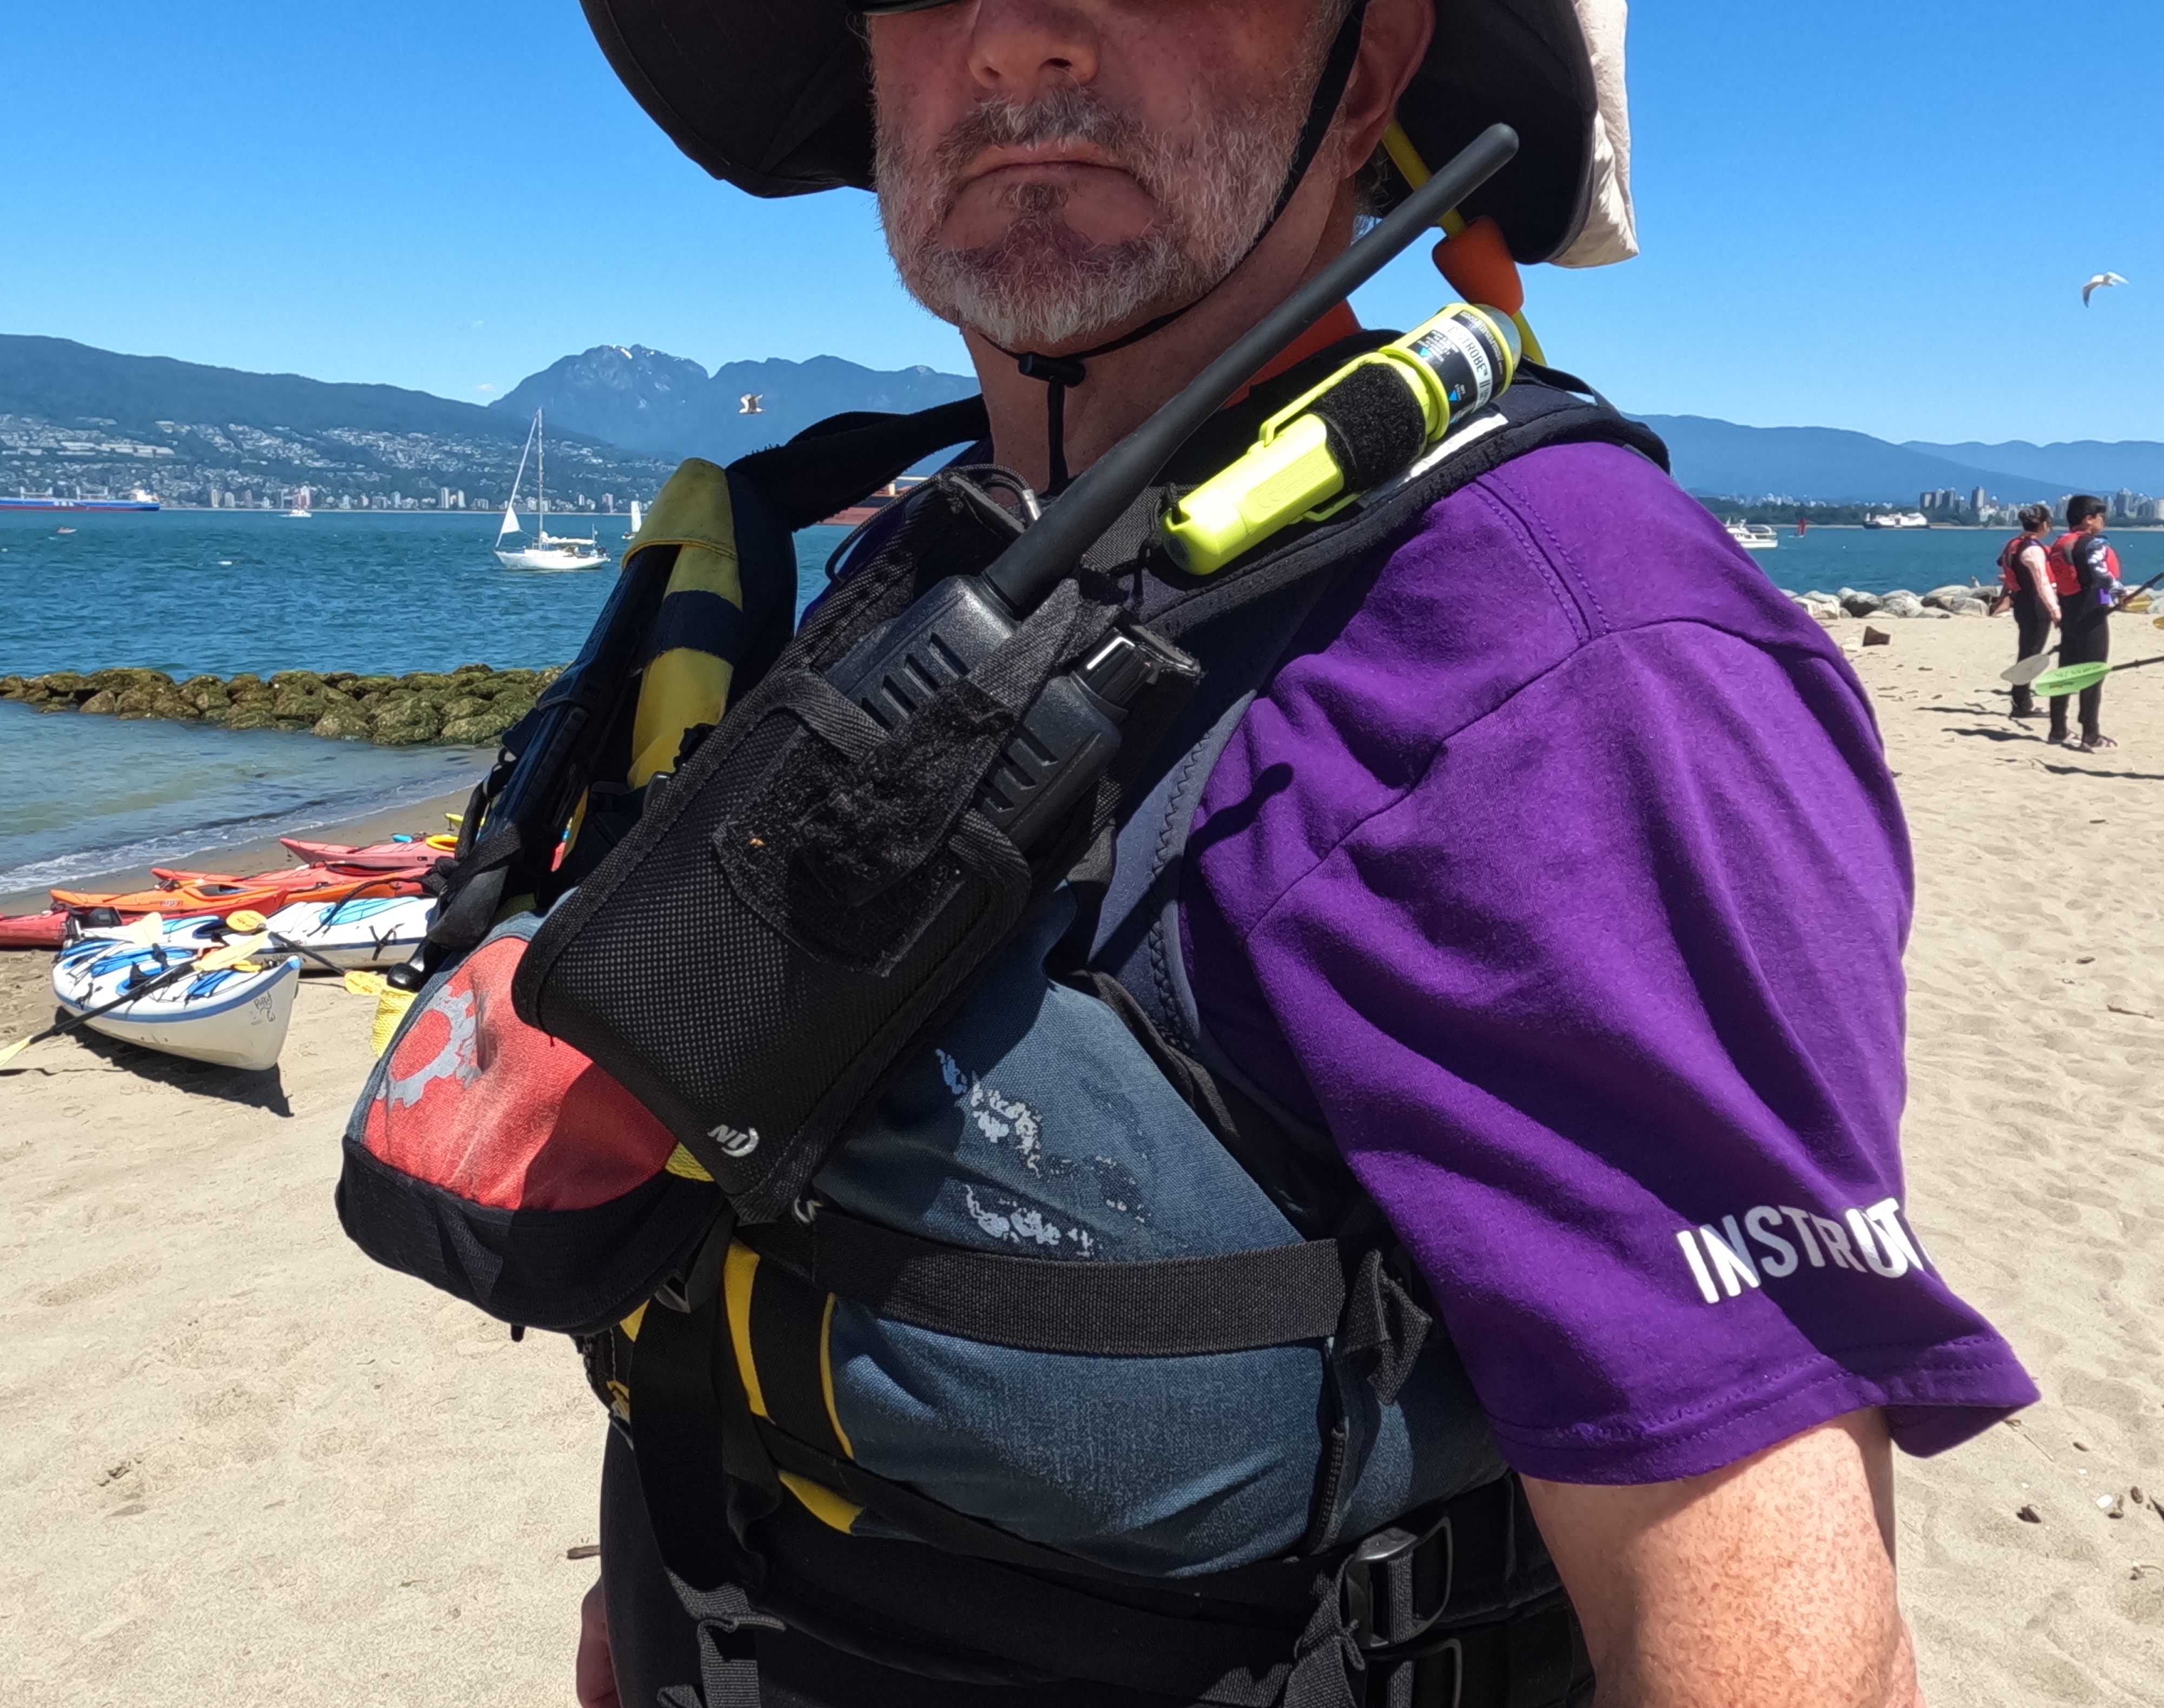
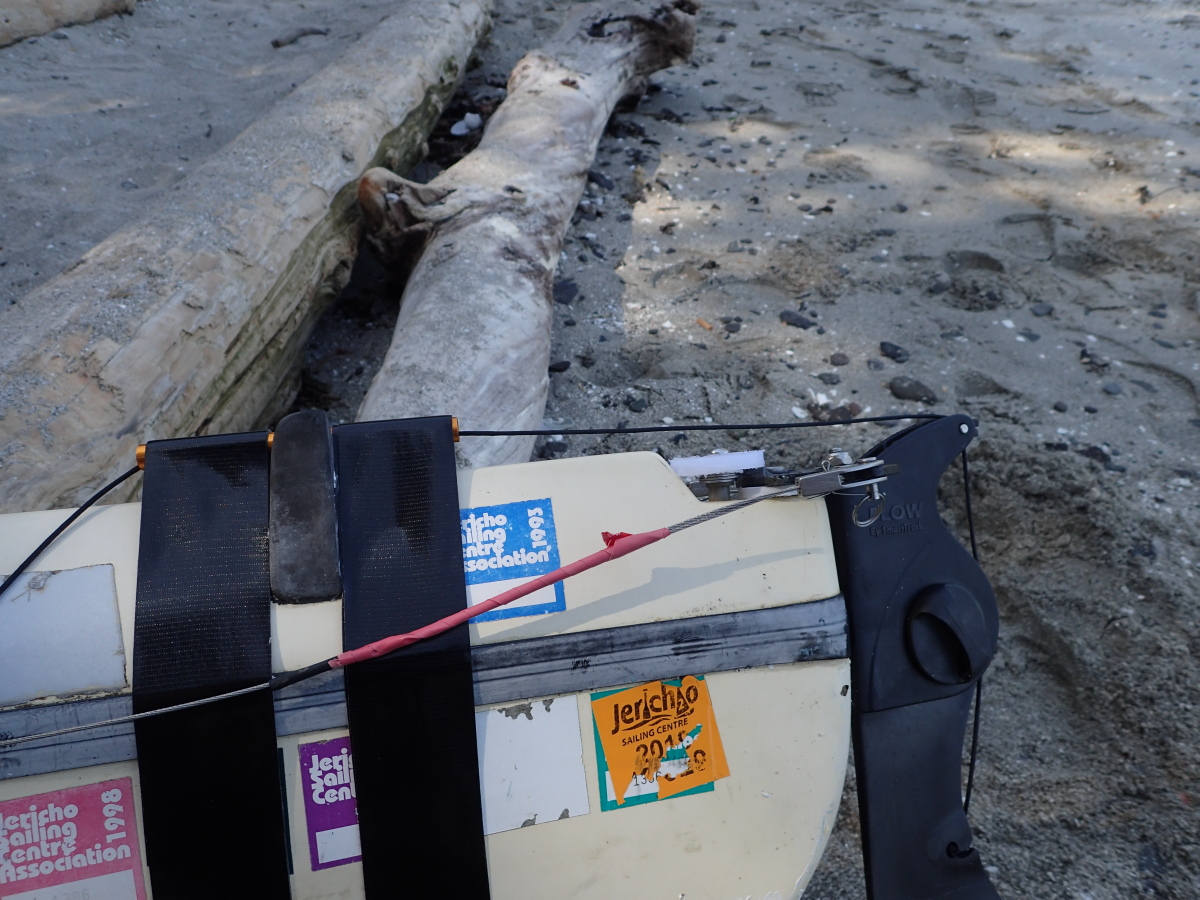
My current radio holding hack is a Nite Ize cargo holster, with the top flap cut away for antenna clearance, and a dollar-store hook-and-loop strap sewn on that can be released or secured one-handed. It stretches to fit either my DSC or non-DSC radio snugly, and the rotating back clip secures easily to the shoulder strap of my PFD. I like having the radio, especially the antenna, at least mostly above water in its holster in case I dump, especially if I’ve pushed the DISTRESS button and need the radio to be automatically calling for help while I thrash for shore or cling to my upturned boat.
But if you’re not constantly transmitting with the radio, the removable belt clip that comes with it should be fine for clipping to the webbing or somewhere on your PFD. Whatever system you use, add a lanyard and hook to prevent losing the radio if it should slip from your hands. I prefer the Scotty nylon snap hook over metal carabiners since it won’t rust or bang destructively against my radio.
A part of many layers
If you’re familiar with the Swiss-cheese model of accident causation, you know that the more layers of equipment and/or skill-based defences you have, the more opportunities there are to break the chain that can lead to catastrophe. A VHF radio can be part of many of those defences: in the outer layers, it lets you access marine weather reports that help you make go/no-go decisions; in the middle layers, it lets you communicate with kayakers and other boaters to prevent confusion; and in the inner layers it lets you call for help if all else fails.
In more than three decades of carrying handheld VHFs for sea kayaking, I have never needed to send a full-on Mayday call. And I couldn’t be happier about that. But I’m also very happy to know that if the need should ever arise, I have both a radio and the knowledge to use it effectively. I think you should, too!
Philip Torrens is a long-time sea kayaker. He instructs on-water, onshore, and online classes for Jericho Beach Kayak, including the course to get your ROC (M). He’s the majority owner of WestCoast Paddler, an online community for kayakers. He also blogs about kayak trips and techniques at https://philiptorrens.com/
Crossposted from https://www.bcmarinetrails.org/vhf-marine-radio-a-lifeline-for-sea-kayakers/.