In an earlier post, we discussed how to use a chart and compass to find a compass bearing we could follow to a desired destination. But all those techniques for heading somewhere new require us to know where we are now. As any kayaker who’s ever done a longer crossing or paddled along a featureless shoreline can confirm, it’s easy to lose track of your precise location. How do we find it again?
First, a quick detour into a concept called a Line Of Position (LOP). You’ve almost certainly used LOPs before, even if you didn’t call them LOPs. If you were wandering around a city (for example, Vancouver, British Columbia) with a paper street map, you might have known you were somewhere on Granville Street, but not sure where along Granville. So you walked down to the next corner and checked the signs for the cross street. Finding it was Broadway, you now knew your exact location: the intersection of Granville and Broadway. Each of those streets served as one LOP for you. Where the two LOPs intersected was your location.

To determine our location when sea kayaking, we do exactly the same thing: we find the intersection of two or more LOPs. The only difference is that we use lines other than streets as our LOPs.
Even for novice kayak navigators, there’s one Line Of Position that’s so obvious you’ve probably used it without even thinking about it: the shoreline. (Yes, most shorelines are curvy and crinkly rather than straight. But there’s no requirement that every Line Of Position be a straight line. In my hometown of Vancouver for example, Kingsway Road has lots of jinks and bends, but I can still use it to clearly define a position such as “the intersection of Kingsway and Broadway.”)

So, if we only ever intend to navigate along shorelines, why would we ever need a second LOP?
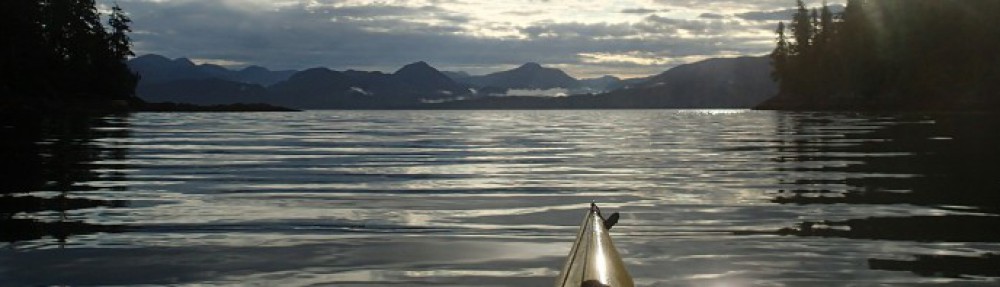
Imagine you and I and several friends are kayaking close alongside the southwest shore of North Pender Island, admiring the undersea flora on the rock wall and petting the passing Orca. Distracted by all this merriment, we’ve lost track of how much time we’ve spent paddling vs drifting. Plus, the tricky currents on this coast have sped us up or slowed us down unpredictably. So now all we’re sure of is that we’re somewhere between Boat Nook and Smuggler’s Nook. We need a second LOP to show us exactly where between those points.

To lay out a second LOP, we need to take a compass sighting (AKA a bearing) from any clearly identifiable location shown on the chart and visible from where we are in the real world. A lighthouse, the tip of a cape, one side of a known island, or a distinctive mountain peak would all be excellent options.
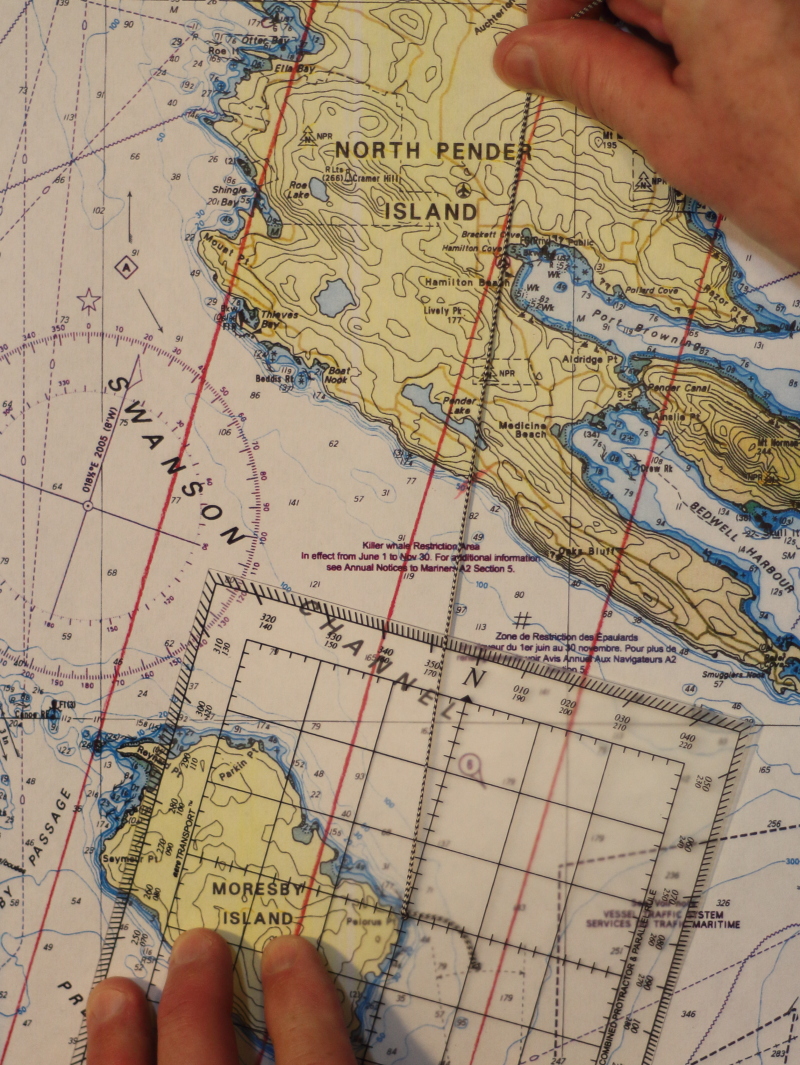
Looking out to sea from Pender Island, we find a highly distinctive landmark to take a bearing from: the red-and-white marker on Canoe Rock. Even better, it’s at roughly a right angle to the shoreline. (It’s a good habit to pick your landmarks so that your LOPs meet at as near to right angles as possible; this creates a much clearer intersection point than sharp acute angles or almost parallel obtuse angles.)

Great. We have our bearing off Canoe Rock. So now what? So now, we’re going to transfer that bearing into an LOP on our chart.

Woot! We are unlost! We are right where the shoreline (the first LOP) and the bearing from Canoe Rock (the second LOP) meet. High fives everyone!
BUT…
We took that compass bearing with a hand-held land compass from the cockpit of a kayak rocking in the waves (landing to take the bearing wasn’t an option on the cliffy shores). And we extended that LOP by eye from where we ran out of compass baseplate. So there have been lots of opportunities for errors to creep in. How can we cross-check our apparent position? By determining a third LOP.
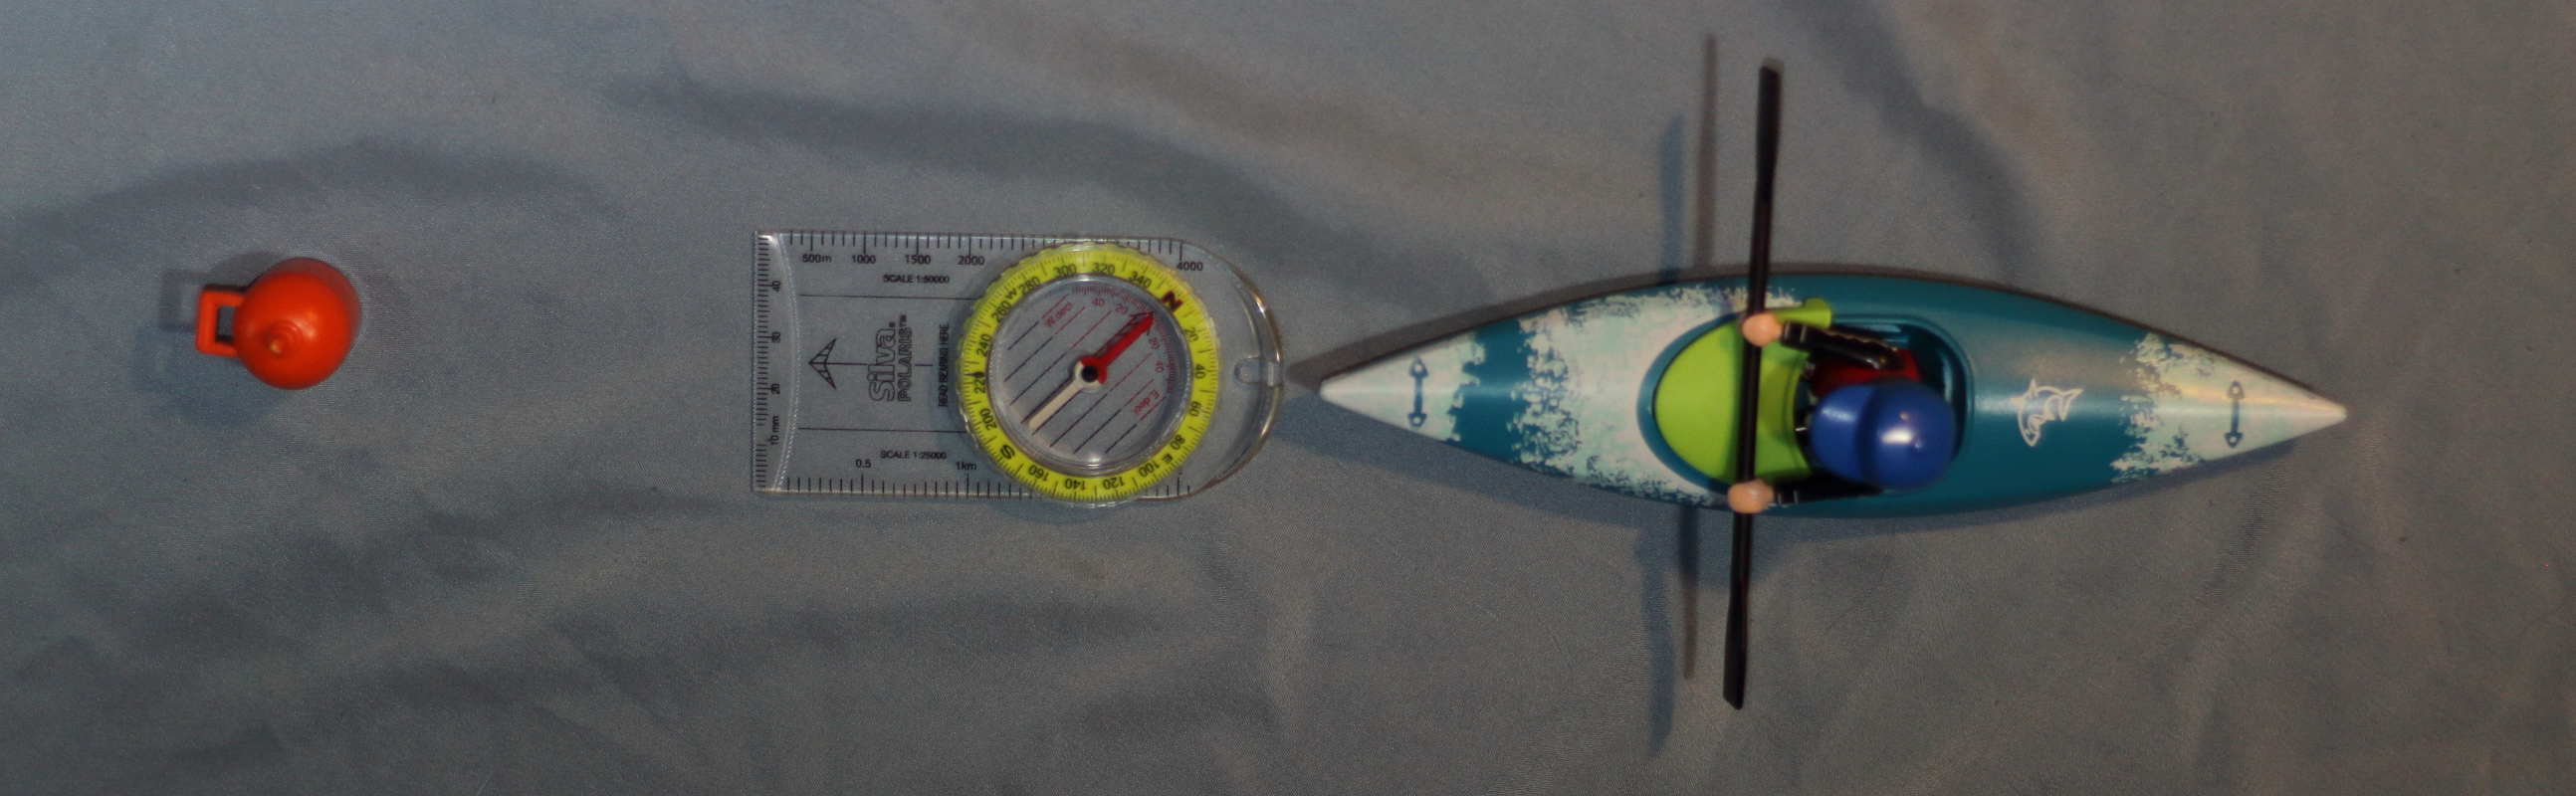
Happily, our pod of paddlers includes the excellently-equipped Greta Geerweenie, so we can not only shoot an entirely separate landmark, we can do so using a more accurate instrument. Because Greta’s kayak boasts a deck compass, aligned with the keel line of her kayak. So to take a bearing, she simply aims the bow of her boat toward her chosen landmark (Pelorus Point on the east side of Moresby Island), and reads the bearing in degrees at the lubber line.

But Greta’s opportunities to flaunt her superior gear don’t end with the deck compass. Now it’s time to transfer the bearing she shot onto the chart as that third LOP. Rather than roughing it with the hiker’s compass, she whips out her modified Davis Protractor, complete with String™ that extends much further than the baseplate on a hiker’s compass.
We won’t always be paddling with a Greta Geerweenie. But we still can (and should) cross-check our plotted position wherever possible by shooting at least two landmarks as bearings and bringing them down onto our chart as LOPs, even if we’re only using a humble hiker’s compass for everything. It’s also true that in the real world, our multiple LOPs won’t usually intersect with the suspiciously perfect agreement they have in this story: typically they’ll form a triangle. You’ll know you’re somewhere inside that triangle, and as long as it’s small enough, it will be good enough for navigation purposes.
A PLOT TWIST!
Clever readers (which is all of you, of course) will have realized something: once we’ve intersected two or more LOPs based on compass bearings, we don’t need the shoreline LOP anymore to know where we are. That’s exactly how bigger, deeper boats, who need to stay further from the shore than kayaks, do it. And exactly how you can do it as you graduate from simple shoreline paddling to longer crossings. There are even other compass-free LOPs you can use when away from the shore. But we’ll save those for another post.
And that “another post” is now up here.
