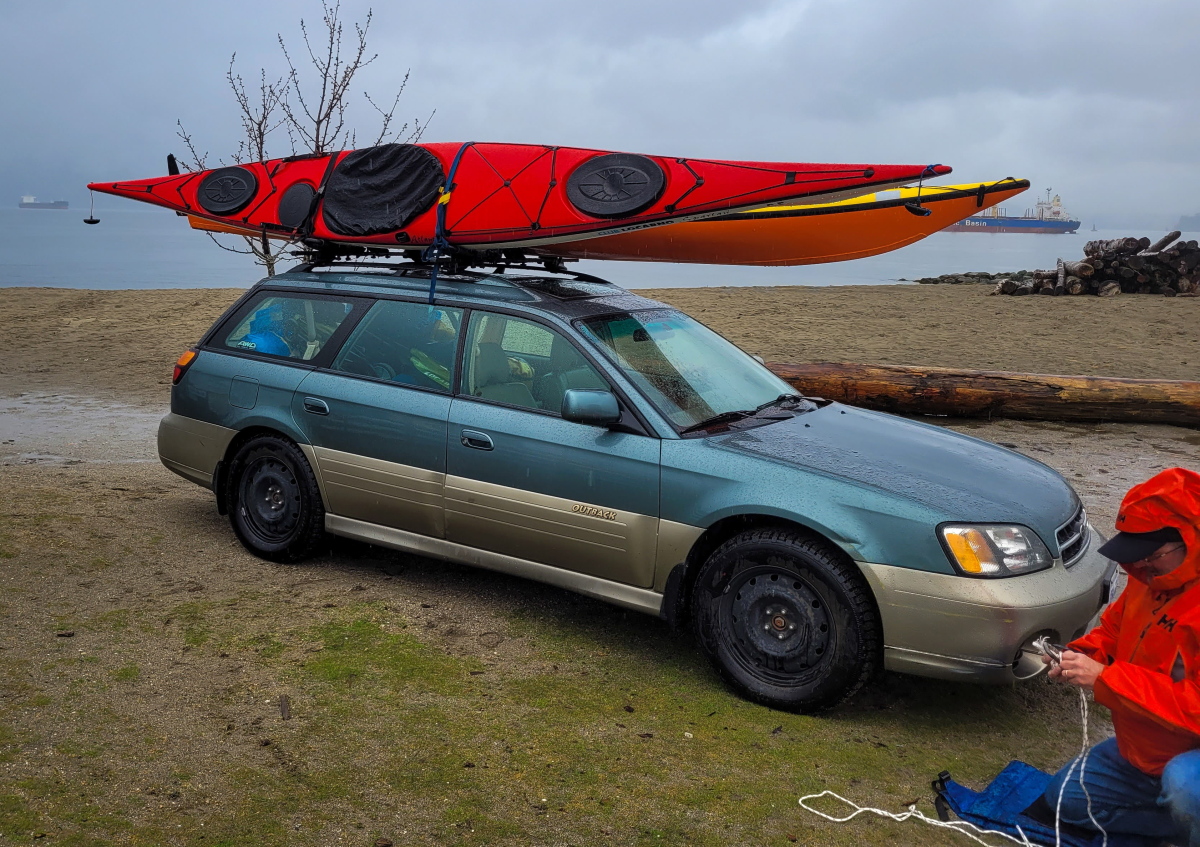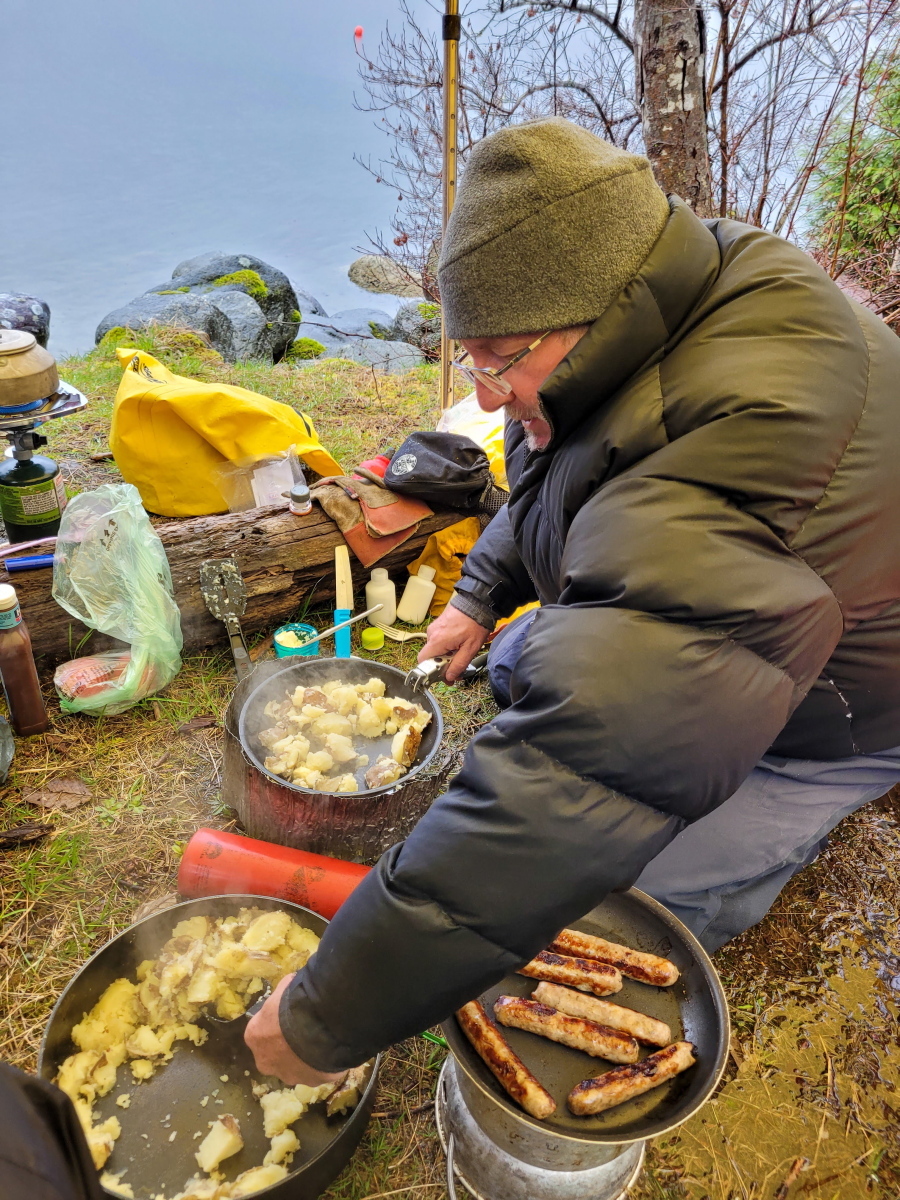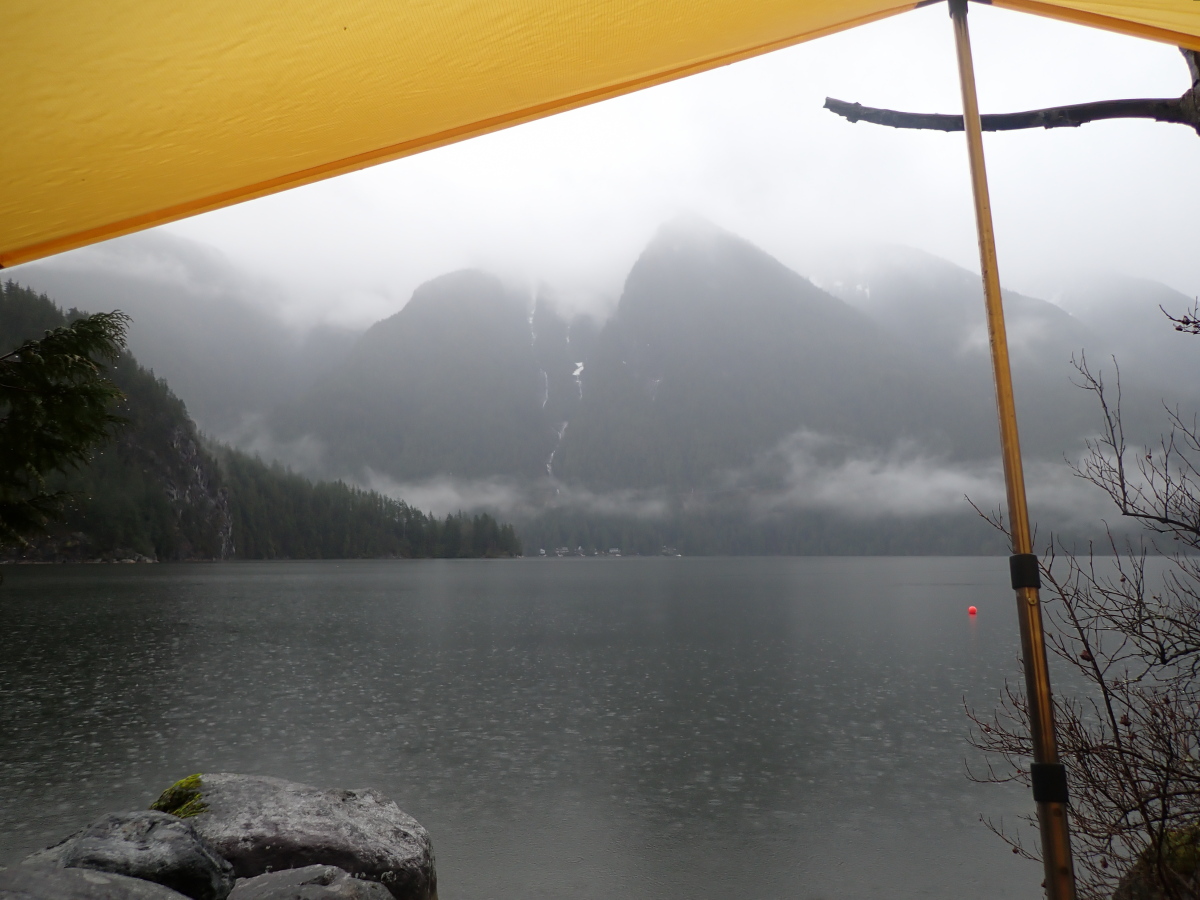
If you’re sea kayak touring in British Columbia, and out for any length of time, it’s not a matter of if it will rain, but when it will rain. They don’t call it “The Wet Coast” for nothing. In such Noahscape situations, being able to rig a secure kitchen-dining shelter is essential to ward off both cold and cabin fever.

Materials
If you only camp very occasionally, even the basic “plastic” tarps from your local Crappy Tire or Home Depot will suffice. They will be bulky and not terribly durable — though pinholes are easily fixed with duct tape. Please don’t let their semi-disposable price point tempt you to abandon them in the field at the end of your trip. Blue is the most commonly available colour, but if you can find orange, it provides a more cheery ceiling in the rain (this is true of all tarps: yellow and orange fabrics create a gloom-dispelling faux-sunlit vibe even on cloudy days.)
Polyester (PU) coated fabric tarps are more durable and compact, and, predictably, more expensive.
The most compact of all tarps are made with silicone-coated fabrics. (I fondly remember field-testing a prototype tarp for my erstwhile outdoor retailer employer decades back, before silicone fabrics were common. I wound up sharing a backcountry campsite with a friendly father and son. Their astonishment when I conjured an 8’ x 10’ tarp out of a soda-can sized stuffsack was as if I had produced not a rabbit, but an elephant, out of a hat.)
Silicone fabrics are also highly stuffable, saving a lot of time with folding and rolling.
Shapes
Several companies make cunningly-tailored wing tarps. I’ve owned a couple and really loved the catenary-cut, sag-defeating ridgeline and the assured-drainage scalloped edges. I was less enamored of the single set-up option. Particularly at improvised sites deep in the backcountry, vegetation often rudely insists on growing exactly where you need the edges of the wing to be. So these days, I carry rectangular or square tarps. They take a bit more rigor in rigging to prevent pooling water, but are more adaptable to cramped and oddly-shaped sites.
Lines
When it comes to rope, the rule is: it’s hard to have too much. I typically carry at least a couple of hundred feet of paracord, in hanks of about 20 feet. The more line you have, the more options you have for set-up. By splicing one hank to another with a square knot, you can anchor lines to remote branches, trunks and roots.

Brightly coloured lines will reduce stumbles and self-strangulation as you walk under and out from your roof. You can even buy reflective cord, which shows up beautifully in headlamps, and makes an excellent navigation beacon if you’ve wandered far into the bush to answer nature’s call at night.
Rigging Your Roof
If you’re setting up the classic A-frame bungalow roof configuration, you typically start by rigging the two high points that will form the ends of the tarp’s ridge, then adding the side and corner lines.
Some folks like to do this by rigging a literal ridgeline — a thicker rope running between two trees and/or poles. Next, they drape the tarp over this line, and use short lengths of cord wrapped in prusik knots (see below) around the ridgeline and secured to tabs or grommets on the tarp to stretch it along the ridgeline. This creates a very strong structure, but with the downside that the ridgeline rope chafing against the tarp may eventually wear the waterproof coating and/or the fabric itself to the point that it leaks. And dead centre of your roof ain’t a great place for leaks.

So for chafety reasons, I usually opt to simply stretch out the two attachment points at either end of the tarp’s centreline, letting the tensioned fabric itself create the ridge. Separate-ridgeline-rope enthusiasts will sneer that this stresses the fabric of the tarp more and is a weaker structure in wind. They are not wrong. But, tocca ferro, in decades of touring, I haven’t had a tarp tear yet. This might be because I retire my tarps (or demote them to “windbreaks only” duty) once the waterproofing has worn out, and this typically occurs long before the fabric itself is brittle.
If you’re at a site that doesn’t accommodate retangular, symmetrical roof sides, think outside the box: make the diagonally opposite tarp corners the ends of your ridge, so the sloped sides become asymmetrical triangles that can poke between barricading trees and bushes.

Another classic tarp configuration is the high centre point, with the sides sloping down to form a shallow (and not necessarily symmetrical) pyramid. You can raise that centre point from the inside or the outside. From the inside, it’s via a pole of some kind, store-bought or improvised from driftwood. Either way, the tip where the pole makes contact with the tarp fabric should be condomized with a stuffsack to reduce chafe.

Raising the centre point from the outside maximizes usable interior space. If there’s a cooperatively placed branch above the tarp site, just sling a line over it, tie it off to the topside tarp tab, then hoist the far end of the line and tie it off to a tree trunk or branch. (Your D.O.T. mandated “buoyant heaving line” works a treat for this.)

If there’s no handy overhead branch, run a line from tree to tree above the tarp, then attach a prusik knot to this line and hence to the topside tab. This way, you’ll be able to slide the attachment point along the high line to fine-tune the tarp’s position.

At breezy kitchen sites, you’ll want to rig the tarp as a combination windbreak and roof, with one edge at ground level. This will block wind-blown rain and keep gusts from wicking heat away from you and your camp stove. Some folks just rig their tarp as a simple lean-to, but these flat surfaces are prone to inverting into a sail when hit by strong wind. So I prefer to do a sort of pyramid tilted on one side. With the tip of the pyramid pointed into the wind and anchored securely, the tarp is much more aerodynamic and wind shedding.

Though I do carry a few pegs for my tarp lines, I generally prefer to tie the lines off to tree branches, driftwood logs or roots. Natural anchors are usually more secure than pegs.
To minimize wrinkles and maximize drainage, try to run the lines from the side of your tarp as close as possible to 90 degrees away from the centre ridgeline, and corner lines out at roughly 45 degrees. Where lack of anchor points or the presence of obstacles prevents running a single line at the optimum angle, attach two lines to a single tab or grommet, run them out to whatever anchors are available, and tension them differentially to rid the tarp of ruckles.
As anyone who’s ever schlepped even a 5-litre waterbag knows, it doesn’t take a vast volume of water to be seriously heavy. So you want to ensure your tarp setup won’t trap large rainpools, lest there be rending of fabric and gnashing of teeth. Preventing pooling isn’t always a matter of going higher with your tarp lines or steeper with your tarp slopes. Sometimes it’s as simple as creating drainage valleys at the lower edges of your tarp. Do this by suspending a light weight, such as a water bottle, stuff sack with pebbles, or small piece of driftwood from one of the grommets or tabs.
Knots
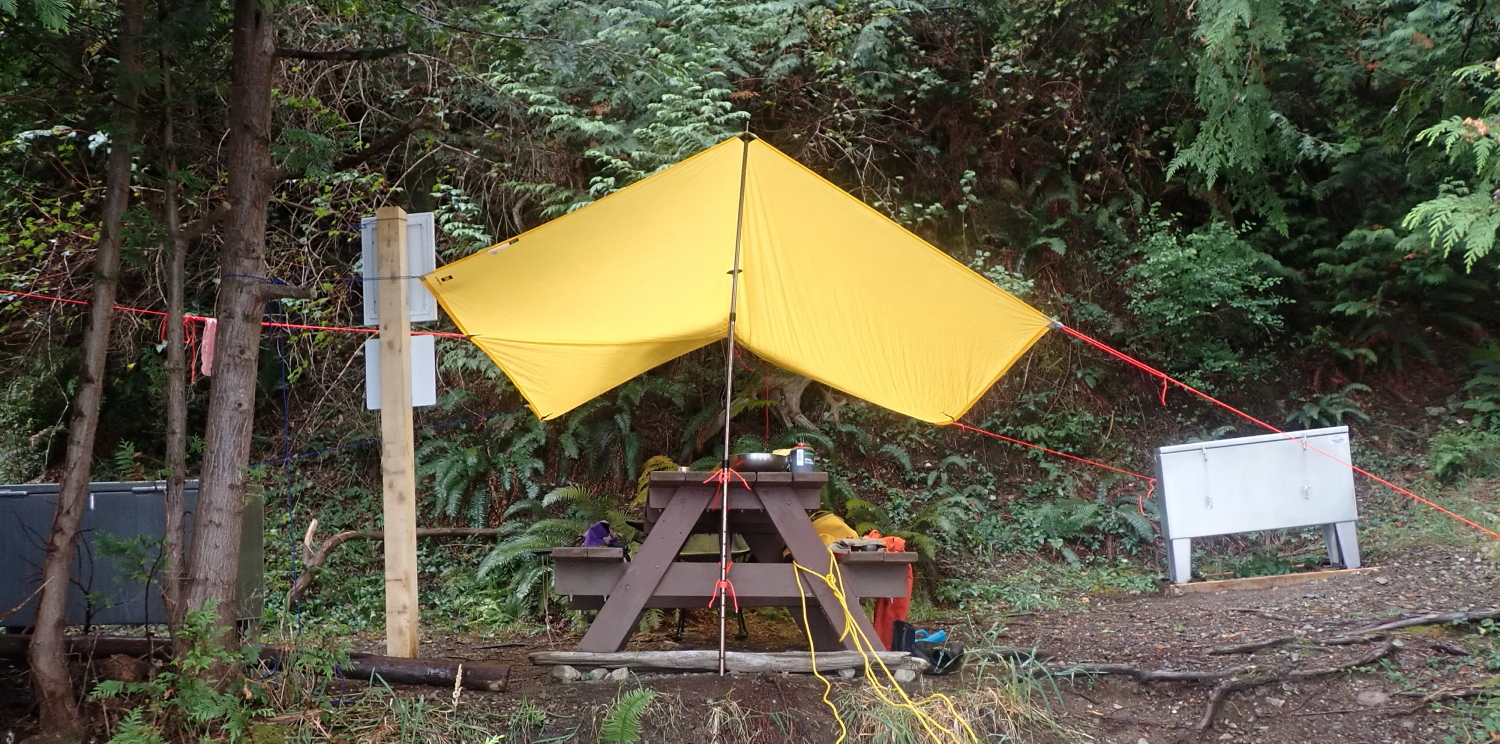
I have a pretty basic repertoire of knots that I mix-n-match as needed for rigging. The trucker’s hitch lets you apply a lot of tension to a line easily, so I tend to use it for the ends of the ridge attachment points, or for a tree-to-tree line that I’m going use a prusik hitch to suspend the topside attachment point from to form a high centre point pyramid. For the side or corner lines a tautline hitch usually provides enough tension. A simple square knot is great for splicing lines together to extend your anchor options. In the photo below, I used a pair of Japanese square lashings to secure the tarp pole vertically against the end of the picnic table. You can also use a square lashing to attach the ends of driftwood poles together to form an A-frame for one end of your tarp.
Poles
If you can find one of suitable size on site, driftwood poles are an excellent option: they’re free, fully biodegradable, and take up no room in your boat. That said, I often carry at least one tarp pole for convenience and assurance I’ll have the right pole for my needs. I find the fully-telescoping type is easy to stow against the keel line of my kayak, but its minimum collapsed length is a few feet. If you have tighter hatches, you might need poles that fold tent pole style to fit through them.
Tarps For Tents
Even if your tent’s fly is reliably waterproof, there are several reasons you might want an over tarp for it, especially on extended tours in persistent rain:
Firstly, it’s wonderful to have a dry porch roof/mudroom where you can stand up to doff and don wetwear without getting the tent interior soggy.
Secondly, in seriously heavy rain–the sort that hammers down in dollops rather than drops–bedtime in an unshielded tent can be like trying to sleep inside a drum at a heavy-metal concert. Intercepting the rain a foot or two above the fly dials down the din from crazy-making to practically cozy.
Thirdly, like me, you may well be fond of breathing right through the night. Each of your hundreds of exhalations contains water vapour. The cooler and wetter your tent fly is on the outside, the more of that breath vapour will condense against its inside. Wet begets wet. In a really prolonged rain in cooler weather, so much breath moisture can condense against a fly’s interior that it looks–and feels–as though the fly is leaking. By keeping the outside of the fly dryer, an over tarp will vastly reduce this effect.

Finally, by rigging the over tarp first and taking it down last, you can set up and pack up your tent out of the rain, and keep the interior canopy dry. Or at least dryish.